Pages

Showing posts with label Bathroom. Show all posts

Friday, November 30, 2012

Stripes of Wonder

Why wonder, you ask? Because rarely do I attempt such a big project that is so likely to fail and actually succeed.  Huzzah!

Despite my husband's severe misgivings and the teeny tiny fight that we got into during the process, I added stripes to our small half bath on the first floor, and what a different a little pattern makes!  Remember that we started with this:


Pinky beige walls, old laminate flooring, outdated fixtures, ugly light, and that gorgeous (barf) country house border on the wall.  No offense if you love country houses, just not my style.

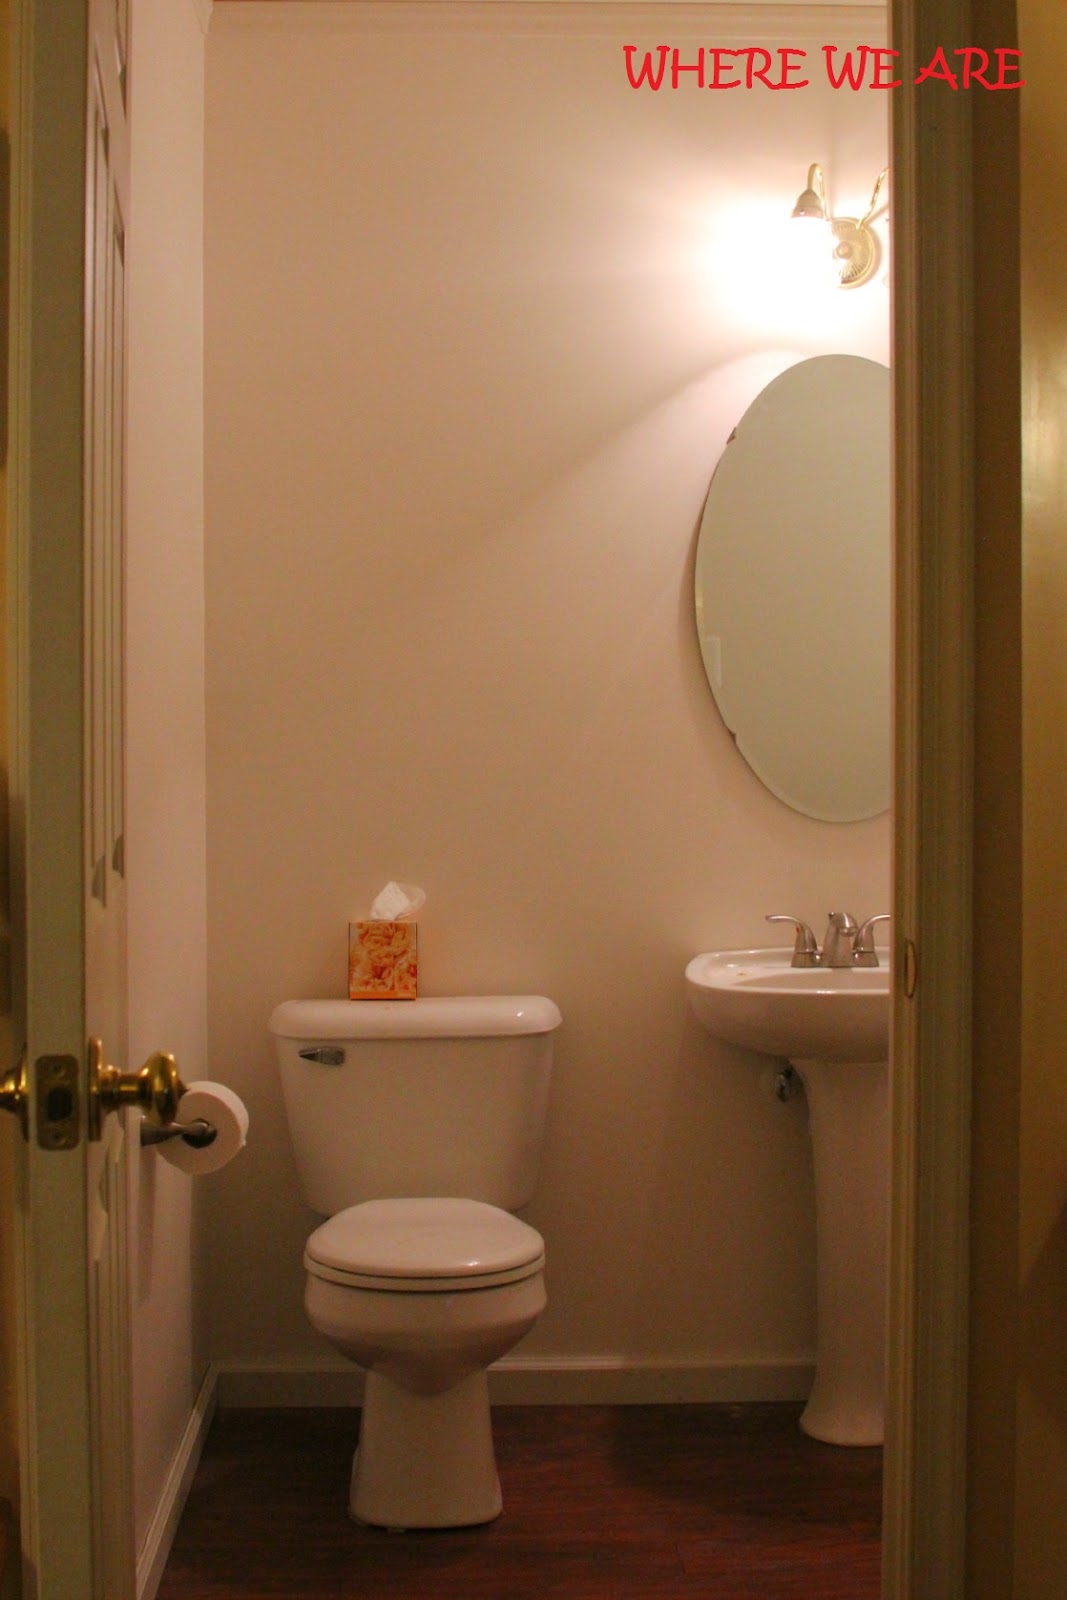
We soon moved to this:

Lightened walls, new flooring, and updated fixtures.  But we weren't at my vision yet.  I wanted a touch of drama in this room.

KABOOM!


That's right, I ventured into a more advanced project and decided to put some stripes in the bathroom.  Inspired, as always, by John and Sherry, whom I pretend to be personal friends with, from Young House Love (met them at a signing last week!), I opted for a touch of color and drama in the form of horizontal stripes on the wall.  First, I measured my wall height (90 inches) and decide on a simple 10 inch stripe, so 9 stripes on the wall.  I marked the 10 inch mark along the wall, then splurged on Frog Tape and connected the dots with that.  If you do this, be sure to keep track of if you are working on a stripe to be painted or a stripe to be left alone.  When you tape it, it will look like every other stripe is smaller than the others, but that's to factor in the stripe you're leaving alone?  Sounds more complicated than it is, but you're smart, you get it.

Then it was time for the painting:


After using the best thing I've ever bought, I picked Glidden's Universal Grey and painted off the 10 inch stripes, making sure to go over the tape to ensure I got a nice solid line on the wall.  And ended up with this:

Love love love
That's a shot with flash and here's a shot with the light on:


What light, you ask?  Yep, old yeller came down and we put up a clean brushed nickel light from Home Depot (can't find the link online though!)  And, courtesy of my dad poking around in our basement, we put up this great poster from our favorite winery in Napa.  Yeah, we're those people that have a favorite winery.  Fancy pants.

Poster from Peju Winery
I love how this looks so much, and I worked so hard on it.  The stripes were ridiculously painful (measuring, taping, adjusting, panicking, repeat as necessary).  And there's still a few details left to go: some storage, cute towels, a more modern mirror.  But I love the progress!

Wednesday, November 14, 2012

How Does Your Garden Grow?

I know, no Friday post and no Sunday Linky Dinkie last week.  I suck.  Well, I'm back to work as of last week, and THAT sucks, so it's been a chaotic time.  But, we're back and with an easy fix to a common problem.  I got this idea from my sister who blogs over at Sunbeam Yellow.

Before: I kept all my makeup brushes in this green "vase" that actually has rather sharp edges.  I apparently also keep a marker in there.


So, on a recent IKEA trip, I was wandering through the marketplace with nothing to really buy (a very dangerous state to be in while in IKEA) and I picked up this cheap vase and these rocks, which, of course have their own Swedish name.  God forbid something in IKEA not be called Knarblas or Elkdorf.  

KNASTER rocks for $0.89 at IKEA
Put Tab A in Slot B, or in this case, drop your Knasters in your vase (oddly unnamed) and put your brushes in.  It looks like an odd little rock terrarium.


And there you have it.  Rocks go with about everyone's bathroom, and I can just push them in when I'm done and the brushes don't get bent out of shape (anymore).  Total cost was about $3. And that, my friends, is what we call a win.

Wednesday, September 12, 2012

Bathroom Progress

In the midst of having my dad stay with us while I went into labor and had Cassidy, we wanted to make some progress putting the first floor bathroom back together again.  Since we replaced the floor, we have just had a toilet and sink loosely floating around the bathroom.  My intent was to paint awesome stripes on the wall before putting it all back together, but we didn't get to it in time, and with a C-section, I needed to be able to get to the bathroom without climbing stairs all the time.  So, dad was awesome enough to scrape off that great wallpaper that you might remember from this "before" picture.

Old faucet, pink walls, "lovely" wallpaper border, cheap flooring
Then, I picked out a few colors for reference and got everyone's input


Finally, I picked two colors (Ivory Mist #1 and Hazelnut Cream #2 from Behr) and dad and Jon painted the base coat (Ivory Mist) on the wall.  We didn't have time to get the Hazelnut Cream stripe on before Cassidy made her way into the world, so the stripes will have to wait, but already, what a difference!  The toilet got re-installed with the sink coming soon and Jon promised to pull them out again for my stripes when I'm back in a place where I can start painting.  You can also see that the new laminate flooring (Highland Hickory from the HD) is in as well.


After putting in the toilet and sink again, Jon and Dad also put up the old mirror (yuck) but installed brand new "brushed nickel" accessories like a new faucet, towel rack and toilet paper holder.

A trio of beautiful brushed nickel accessories
Next step: Put the stripes on the wall, although that requires Jon to remove the toilet and sink again, so I have to let him forget how painful that is first before I can talk him into doing it again.  In the meantime, I'll be looking for great art and a color scheme for this little sanctuary.  Oh, and of course, replacing this....

Your days are numbered, my friend.....

What do you think so far?  I've updated the House Tour page as well so you can track our progress!

Wednesday, August 22, 2012

Staring at Stripes

Inspired by this bathroom from Young House Love, I decided to paint stripes in our guest bath, but i need your help!!

The inspiration

Which two colors would make the best to use for wide stripes in our half bath??? 


Let me know which two colors, based on their numbers, you think would make the best stripes.  Is it #1 and #2?  Or perhaps the closeness of #1 and #4 would work best?  What about the yellowish tone of #3 with another color??